Social Media has become a vital part of our online businesses. It is important to protect your social media accounts from hacking and phishing. Many people connect with potential customers and clients through social media. We do a lot of our online networking in this space as well. Especially since the Pandemic when everyone was locked down behind their screens, we all reached out to various platforms to connect with the people we care about most.
Our lives are on Social Media – protect your access.
This makes these platforms a good way for hackers to try and target our personal information. I’m not going to go into why a hacker wants to get access to your information or what they use it for. That’s not what’s important here. What I do think is really important is to know how to protect your social media accounts. Especially the Meta ones, since they are still the most widely used social media accounts. A lot of what I explain here will apply to other platforms as well.
These are the key things I’ll discuss:
- Logins and 2FA Access
- Protecting your business Page Access
- Prevent your Groups from being hacked
- DMs and clicking on links
- Spotting hacked accounts.
- General internet Safety
Logins and 2FA Access

The very first line of defence is to have as secure an access as possible to these accounts. Most important of this is to have a unique password for every platform that you use. Ideally this should be a fairly difficult password to remember rather than using a formula for password creation. One of the best ways to do this is to use a robust password manager. In our business we use 1Password. And I’ve used this one with my husband for at least the last 10 years. You can read more about the other options and things to consider about password managers here.
Things that make passwords harder to hack:
- Each one is unique
- Don’t use your name, date of birth or any other searchable details
- Use a combination of special characters, letters and maybe numbers
- A string of English words is harder to hack than random characters.
Two Factor Authentication (2FA)
Using two factor authentication (2FA) to protect your social media accounts is the next step. This is after you’ve updated your passwords to unique and secure logins.
2FA is exactly what it says – a second way to prove that you are who you say you are when logging in. It’s an additional way to protect your logins and ensure that it’s harder for your accounts to be hacked. It’s not 100% secure, but it adds another layer of security which makes it easier to get your account back or know when someone is trying to get into your accounts.
There are a number of ways to set up 2FA. You can do it with:
- SMS sent to your phone,
- Email sent to your main or backup email address,
- Authenticator app or
- Receiving a call with a code.
Different platforms have different options available for adding 2FA. For Facebook and Instagram you can have an SMS, phone call or use an authenticator app.
Authenticator App
This is the best method for you to protect your social media accounts. Most password manager apps include an authenticator option in the app. 1Password does this well. What happens is the number code is refreshed every 30 seconds, so it’s much harder to get the number right trying a few times. Setting this up is usually really easy with the password manager or other authentication app. It usually requires you taking a screenshot of a QR code which tells the authenticator app what code the site uses, and which login it’s associated with. The two apps have to be linked in order for this method to work.
SMS or Phone
Getting the SMS is the method with the least friction, but it’s possible for hackers to get those messages if they’ve managed to get your cellphone number from somewhere and are able to set up an SMS routing system or have done a sim swapping scam. It’s harder work for them, but it is something they can do. Phone calls are harder to route though.
Getting an email is usually a fairly secure system, as you’re unlikely to take long to realise that your email has been hacked. Also on email it’s far more likely that you’re seeing that regularly.
Speaking about email, it’s also really important to have an additional email linked to your email account that’s outside of the domain that you use for your main email. It’s useful to keep a free GMail, Hotmail or Yahoo email address active if you only have your work domain email address and then use that email address as your backup email address for security reasons. That way if there is ever a strange login or you’re locked out of the account, you can prove your access.
Securing your Logins is the first step to protect your Social Media accounts
Securing your logins is the first step to protect your business assets in your social media accounts. I use the word assets loosely as they are not owned by you, and you should never consider your social media as belonging to you. I however know how much of a vital role social media pages, groups and advertising accounts play in most online business owner’s ecosystems, so it’s vital that you are protecting your access to these resources as much as possible.
Protecting your business Page Access
Most businesses have a Facebook Page or Business/Creator Profile (as they’re now called) on Facebook and a Business or Creator Profile on Instagram. Your business page and business profiles require access to each other for verification, which makes them vulnerable if one or the other is hacked. Add an additional layer of security by managing them through the Meta Business Suite, but even that is linked to your standard Facebook logins, so you could still be hacked.
All these platforms allow you to set multiple users with various access levels for the pages and profiles, although Instagram doesn’t have the option to do it directly there. Having a back up admin on your business pages, groups and profiles is another way to protect your social media accounts, particularly for business purposes.
Pages and Business Profiles
Facebook Page
The simplest way to set up additional users for a Facebook page, if that’s the only thing you use on Facebook, is to set page roles from the settings on your page. With the ability to switch between your personal profile and your business profile now, it’s important to also make sure that you have access as your personal user as well. To do this, make sure that your personal profile has liked the page first, and then switch to the page view and invite your personal profile to manage the page.
Adding additional admins can only happen when you are using Facebook as your page. So you will need to switch to that in order to do this.
Steps to add an Admin (desktop):
- Login in Facebook and switch to your Page by using the dropdown below you profile image on the top right and clicking on the page name.
- Go to your page (often there’s a pop-up you can use to switch).
- In the menu on the right click on Professional Dashboard and then scroll down to Page Access
- OR: Click on Settings and go to New Page Experience and then select Page Access
- Click on Add New next to “People with Facebook access” and click Next on the Pop-Up
- Search the name or email address of the person you want to add. Ensure that you have the correct person by checking their profile picture against the ones that show up. Click on their name. If you’re struggling to find the right profile, then doing this through the Meta Business Suite is more secure.
- To add an admin, scroll to the bottom of the next window and turn on “Allow this person to have full control”
- Click Give Access
- Enter your password to confirm the action.
- Let the other person know, as they only have 31 days to accept the invitation.
You can use the method above to add people to assist with managing your page by not turning on the “Allow this person to have full control”, but this won’t give you the security of having someone to remove a hacked account or anything else that could jeopardise your access.
You would do this when adding additional users to your page as well. I recommend that there are at least two admins on every business page. If you are a solopreneur and there isn’t anyone else in your business that you could give access to, I would ask a trusted friend or family member to come on as an administrator, as it’s a way to ensure that you have independent access to the page.
“Solopreneurs – ask a trusted friend or family member to help”
Instagram Business Account
In order to have an Instagram Business account, you are required to have a Facebook Business page or profile. You can set access for multiple administrators through the method above for the Instagram account access as well.
Once you have linked your Instagram account to the Facebook page the same access that you give the page, is what the person will have access to on Instagram.
Meta Business Suite
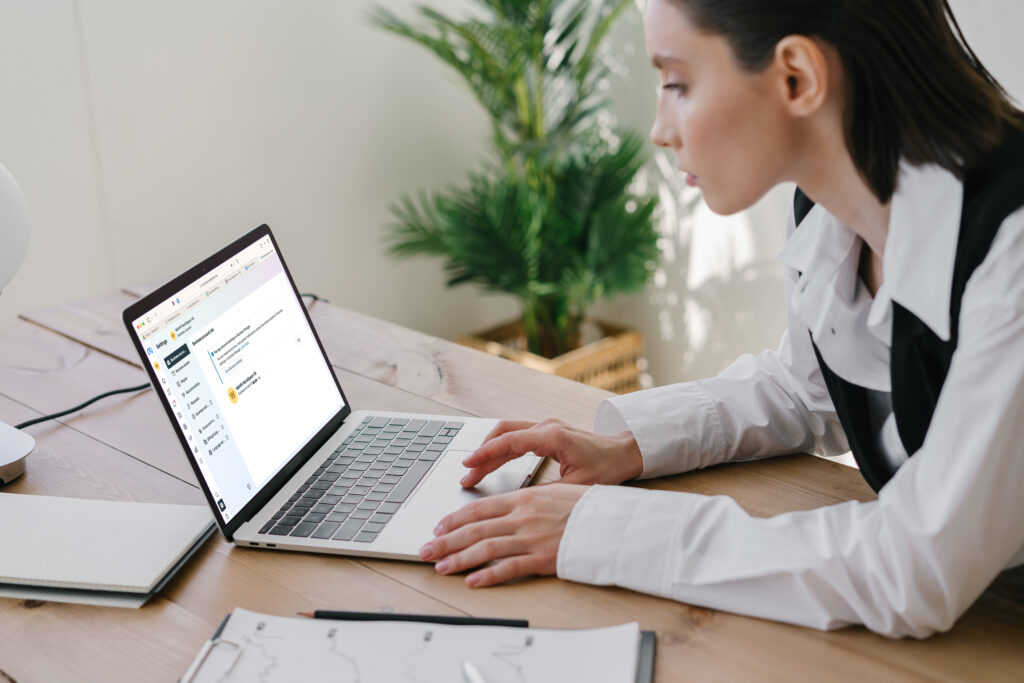
If you use Meta advertising, have an e-commerce website or need more control over who has access to what in your profiles, then it’s best to manage your pages and accounts in the Meta Business Suite.
Steps to add an Admin (desktop):
- From your page profile, you can click on Meta Business Suite which will open in a new tab.
- Once in Meta Business Suite click on Settings at the bottom of the left hand menu.
- On the settings page, select People in the menu.
- Click on Add people.
- Type in their email address and click next.
- Decide if the person needs access to apps (your developer may need this). And if they need full Access (your additional admin needs this). Then click next.
- Select the assets the person needs access to – everything in your Meta Suite will show up in the dropdown, just select the ones the person needs access to.
- When you’ve selected the pages and Instagram accounts the person needs access to, click on each name to open the drop down and scroll down to “Full Access” for admin. If you’re adding someone who isn’t an admin, you can choose which content they have access to. If you don’t do this step, you will get a prompt telling you to go back. Click next.
- Review your invitation and click Send Request
- Again let the person know as they only have 30 days to accept the invitation.
Along with adding these people to your accounts, you want to ensure that they also have secure logins and have set up their 2FA. It’s helpful to share the info in this blog about how to recognise hacker attempts as well.
Prevent your Groups from being hacked
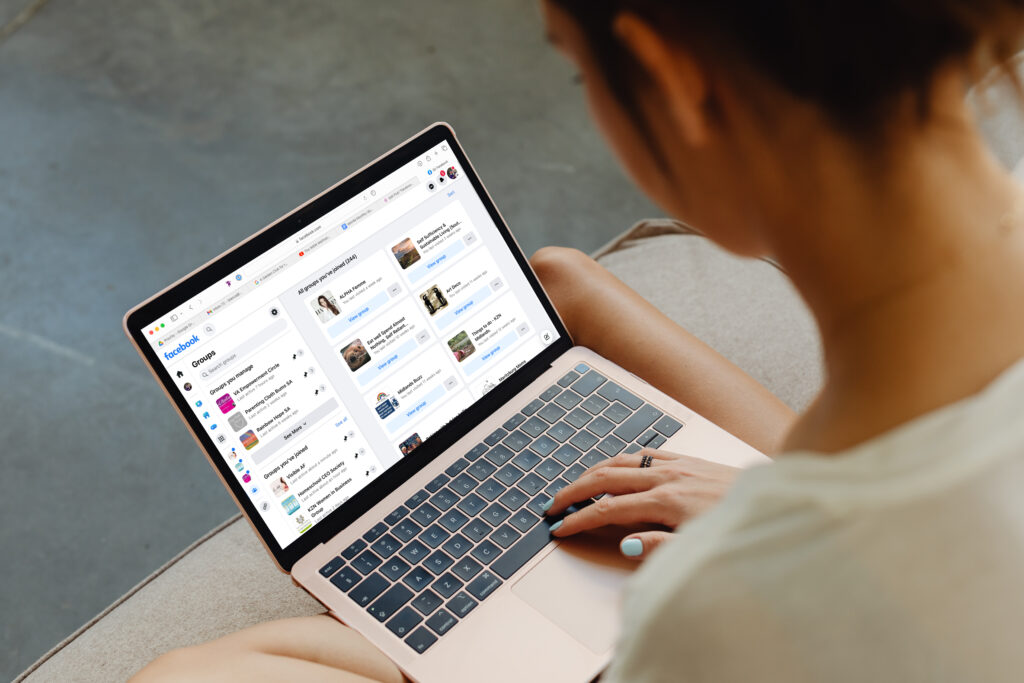
Many online businesses run Facebook Groups where they offer additional value to their audience, offer training or community. You want to ensure that you protect these communities as well. Not only from the potential of your profile being hacked, but also to protect the members of your group.
Set up additional Admins
Firstly you want to have more than one admin for your business groups. Sometimes this is as simple as linking your page to the group as an administrator, so that both your personal profile and your business profile have admin access. Since you’ve already set up additional admins on the page, those additional people will also have access to the group via the page login.
However it’s important to note that if your page account is suspended for some reason, you can lose access to your group as well, so it’s useful to ensure that there are other personal profiles that have access.
To set up an Admin in a group use these steps:
- Go to your group from an admin profile
- On the Left hand menu, under admin tools, click on Community Roles
- Click on Admin and review the tasks and scroll to the bottom
- You may have some Facebook suggestions for the role, but I generally ignore those.
- At the bottom is Members in this Role – review the pages and profiles that are already Admins – you should see your name and your page (assuming you’ve linked them). Click Add
- Search the group for the person you want to make an admin. Note they need to already be in the group to be promoted. Click INVITE next to their name
- Click Send Invitation on the next screen.
- Let the person know, so that they go to the group and click on accept.
Having additional admins in your Facebook Groups will help you keep access to the group in the event of anything happening to your profile or page.
You can use this method above to add admins to groups that are not linked to Facebook pages, so that again you can secure the group in event of someone’s account being hacked. You would also need to use this method if you are wanting to leave a group that you created – there needs to be an admin to take over the group.
Protecting your Group in other ways
A few other things to implement in your group in order to protect your members are:
- Make your group private but visible (if you want to be found in search) – this protects your member’s information. The content in public groups is accessible from anywhere in Facebook and doesn’t protect your members.
- Have membership questions that require a typed answer that makes sense to your actual members, and wouldn’t for hackers.
- What email address did you sign up with?
- Which area do you live in (for a local group)?
- What’s one thing you want to learn?
- Ensure that you only allow admins and moderators to approve new members.
- Make sure that potential spam is blocked for both posts and comments.
- Regularly look at your notifications or messages about your Facebook Group in the admin panel.
The above steps will help to secure your Facebook Group and ensure that you’ve got a good chance of recovering anything if the worst case scenario happens.
DMs and clicking on links
Just don’t do it! Especially if it’s a new person sending your DMs. Also if it’s someone you recognise and it seems like a strange request from that person.
The same applies to when you are tagged in a post on Facebook or Instagram – double check the account is real. Neither platform will ever tag you for a problem with your account – you’ll get a notification via email usually. It is really easy to create a fake profile using official images and names. When they tag you, it’s almost never a real issue. Always remove your tag for any account that tags you in a post that doesn’t make sense. Obviously if someone is sharing your content, or genuinely tagging you for something, you don’t need to remove the tag.
Click here to vote, verify, authorise
Be weary of DMs telling you to click on a link to vote for something, authorise your access or anything like that. If you’re asked to authorise your access, close the site immediately. Rather type the actual address of the platform in to check if authorisation is needed.
Many of these websites are able to replicate a real login page and it can be confusing, so it’s best never to click the link in DMs unless you are familiar with the person talking to you.
Spotting hacking attempts and hacked accounts.
Once you know what to look out for, it’s fairly easy to spot hacking attempts and hacked or unscrupulous accounts.
Hacked Accounts
When you receive a friend request from someone you’re already friends with, or someone you thought you were friends with before – send them a direct message on the profile that you are already linked to, or better yet message them outside of the platform. That way you can confirm that they have a new profile OR that they need to secure their account.
Messages and DMs
If you receive a message from someone who looks like a friend, but the request or content (like asking you for money) is out of context, then I would first go back to the platform or outside the platform to check what’s happening. Usually they’ve cloned an account and it’s often an older version with a different profile picture. That’s usually the first sign.
Review the profile
I would also click on the profile name so that you can view their full profile. Often hacked accounts have weird random generated usernames and not usernames that make sense to the profile. That’s usually a good sign that there’s an issue. Also check the About info and/or bio to get an idea of if this is actually the person you expect.
Additionally when you look at their main profile you can see when the profile was created, and you’ll at least be able to see the profile images and some history. That’s usually a good sign that this isn’t a valid profile.
Spotting Hacking Attempts
Once you know what sorts of things to look out for with hacking or phishing attempts, it’s really easy to spot a dodgy message and avoid being compromised.
Links
Any official platform links will have a clear and useful URL. It’s important to understand how a URL works, so that you can clearly see where something is coming from.
Anatomy of a url:
We’ll use this one to explain: https://business.facebook.com/latest/settings/business_users?nav_ref=profile_plus_profile_left_nav_button

https:// – the “s” means the website is secure
The “s” here tells us that the website is secured with encryption technology. Never share any personal information on a website without the s
/ – the first forward slash
The first forward slash after the https:// is the end of the core domain. You need to look for this in order to identify the main domain
.com – the TLD is between the last dot . before the first forward slash /
This is called the TLD and there are hundreds of them in the world. They are sometimes double barreled like .co.za for South African or .co.uk for the United Kingdom. Every country has their own code. There are many new ones, unrelated to country, coming out all the time – .app .web .net .work etc
The reason the TLD is important is because whatever is directly before it is the main domain that is being used. Nothing else before this or after the first forward slash really matters as that can be set to anything.
.facebook – the main domain
Whatever is directly before the TLD and after the dot. This is the most important part of a URL to check! Use this to verify if a URL is a good one or not.
This is the part you would use to verify the website without clicking on a link – just type this part and the TLD into a browser and you’ll be able to verify what the website actually is.
business – subdomain
Subdomains are generated by the owner of the main domain. They can literally be anything and are completely unregulated. Often this is how phishing scams and link hacks happen. They will put facebook.{something else}.com and you’ll only see the facebook or instagram part of the domain and assume it’s a safe link. Or anything else recognisable.
latest/… – everything after the first forward slash is fluff
Everything after the first forward slash is sub pages or additional information that’s captured in the URL. Sometimes there’s personal information in there that’s used in cookies or for filling out forms.
?nav…. – referring URL – used for tracking
Everything after a question mark is used for tracking where the link was clicked. You’ll see this when you click links in Email marketing campaigns, Facebook links or when sharing a link that you got to via somewhere else. You can usually delete this information when you share a link which will remove the tracking.
Once you know how to quickly decipher the validity of a link, you’ll be able to stop most phishing or hacking attempts in their tracks. They assume you’re too busy to check, and so they manage to get access.
Personal Details
Never, and I mean NEVER, enter your password or personal information on a site that you haven’t personally navigated to intentionally without looking at the URL.
As we showed with login protection – getting hold of your cellphone number, email address or date of birth can be all a hacker needs to be able to get into your account and reset your password or access criteria. So it’s not always financial information that you need to be careful with, but also with personally identifiable information that can be used to hack your accounts.
General Internet Safety
Wifi and Internet Access security
Be aware of what you are accessing and logging into on a public computer (eg in the library or internet cafe) and public wifi offerings.
Free Public or open wifi access can provide easy access for unscrupulous people to eavesdrop on your information. I would avoid doing any banking or logging into your accounts on these platforms, particularly if you have not secured your passwords and logins with 2FA and other security measures.
Equally when logging into accounts on a public computer ensure that you are logged out afterwards and that no information or passwords have been stored on the computer. Pay attention to the links that you follow, and rather type addresses into the search bar yourself, than clicking on bookmarks on the machine.
App permissions and “Login With” settings
Much of our internet lives are now interconnected, and we have the opportunity to login using the security of other websites and linking various apps to each other to accomplish things we need to do in business. Below are some things to keep in mind. .
Login as Facebook
Many platforms now allow you to login using your Facebook account. I do not recommend that you use this feature, particularly for business apps.
Firstly, should your team grow and you need to give access to those platforms to a team member, they will need to login as you on Facebook each time they need to access the account. This may not be the kind of access you want to give a team member.
Secondly, if the platform is compromised via something that website did, there is a good chance that your Facebook login is now compromised as well. Often this is when you’ll receive an email from the website informing you of a data breach and suggesting you change your password. If you’re using Facebook to login, you may think you don’t need to change your Facebook password, but you absolutely should!
App permissions
If you have a business page, it’s likely that you have a website and maybe use a platform for scheduling posts on your page. You may also have linked other apps for livestreaming, or various other purposes at some point.
It’s important to regularly check which apps have permission to access your Facebook account, and to delete any that you no longer use.
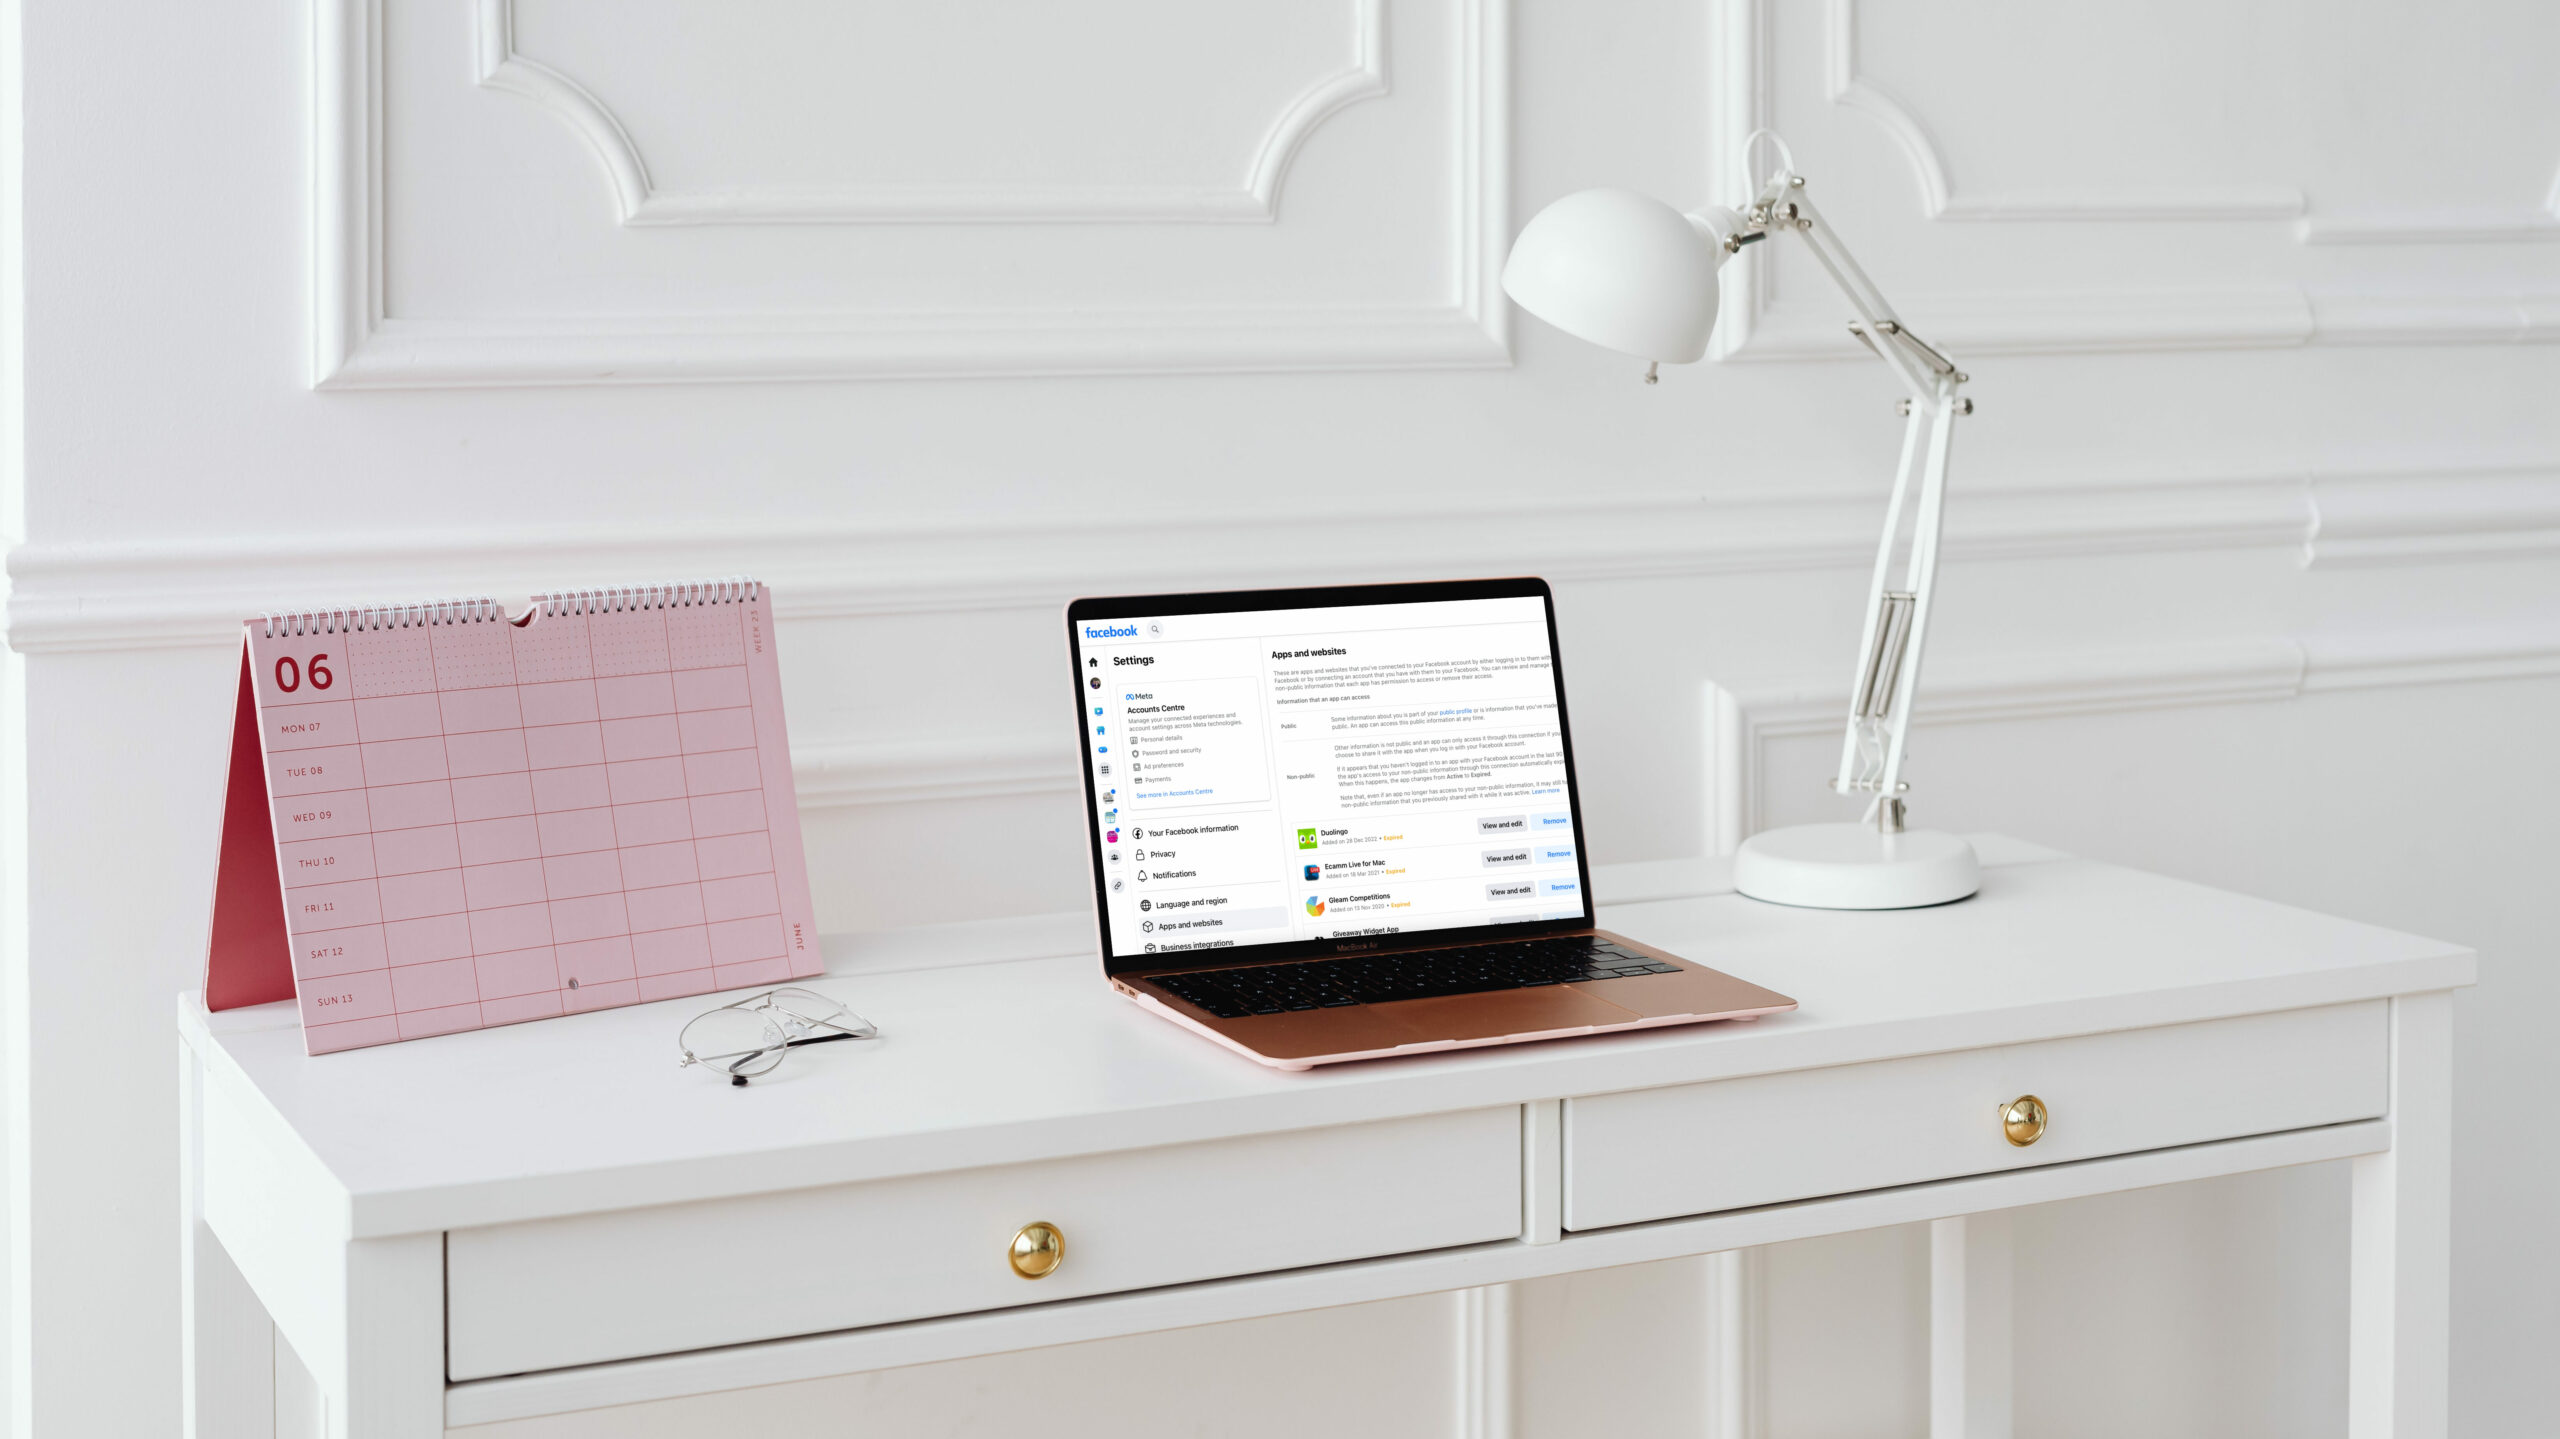
Checking App permission steps:
- Log into your Facebook Account
- Click on your Profile image and click Settings & Privacy
- Click on Settings
- Scroll on the left menu to Apps and websites
- Look through the apps and websites and remove or adjust settings as necessary – close your mouth when you see your list LOL
- Remember to click the “see more” button to see all the places that have access to your info.
If you’ve been on Facebook for a while, you’re likely to see a very long list here. The key is to check the Active ones first and delete any there that you no longer use. The expired ones are worth deleting as well, but are not as urgent since you would need to verify your access again if necessary.
Unfortunately you can only do these one at a time, so it is a little time consuming, but if you do a few every week you can work through them and help secure your account even more.
Conclusion & Summary
It is vital to protect your social media accounts from hackers. This requires vigilance and awareness. These are the steps we discussed:
- Secure your logins and ensure that you have unique passwords for every platform
- Use a password manager to make it easier to remember them and
- Use 2FA Access whenever possible.
- Have at least two admins on your business pages or profiles
- Use Meta Business Suite to manage access for Instagram business accounts
- Secure your Facebook Groups with at least two admins
- Never click on links in DMs unless you absolutely know you’re talking to the right person
- Don’t click links on “vote for me” posts or DMs
- Know what to look out for in a hacked or suspicious account
- Learn how to read a URL so you can protect yourself from Phishing
- Remove your tag from unscrupulous posts, accounts or comments.
- Pay attention to where you access your accounts and the wifi that you’re using, especially when entering your password.
- Check the apps and websites that have access to your information and ensure that you remove any that are still active that you don’t use.
Taking these simple steps will protect your social media accounts in the simplest ways. They will also help improve the chances of you not falling victim to a hacking or phishing scam. If you do though, it’s important to change your passwords as soon as possible and to do everything you can to regain access to your account.
All our WAHM Launch Support retainer clients have the benefit of our team being an admin on their profiles and in their groups, so that they are secured with a second layer of security. If you’re ready to be supported in this way then book a call with Bianca today.
